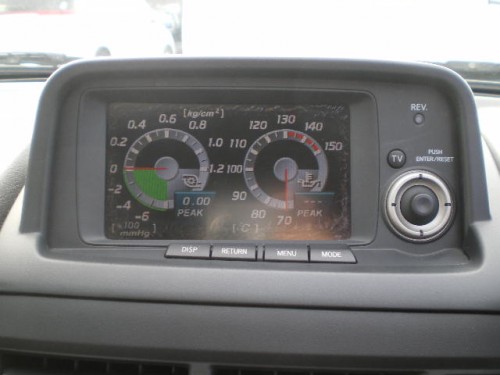
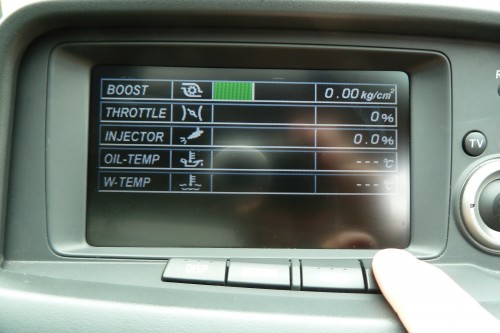
A little how to about replacing the screen of the MFD : how to disassemble the MFD, how to replace the screen, how to set up image and how to put it back !
When I bought my car the display of the MFD (multi fonction display) was slightly cracked but I could lived with that. It was mainly because of the car being parked in sun light that ended up damaging the screeen after 10 years.
My cracked MFD (yeah that was pretty bad) :
Of course you can buy a replacement screen from Nissan but it’s retailed at 1100 euros (new MFD from RHDJapan). That was a bit expensive at first look so I decided to go for a cheaper solution : replacing the polarized plastic film (you can order one from 3dlens)
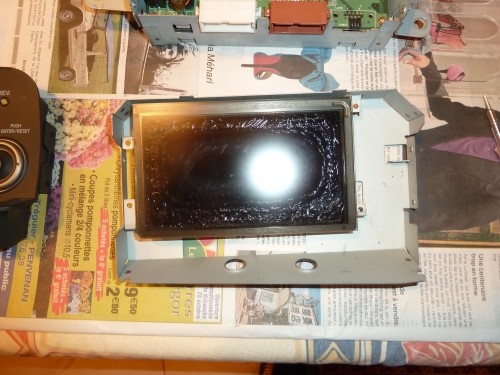
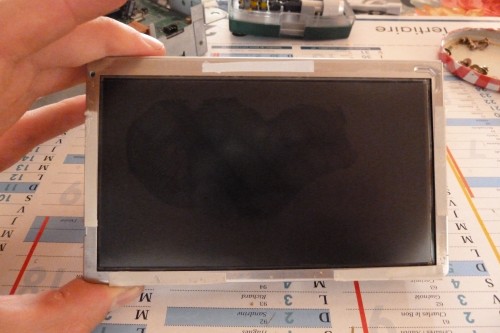
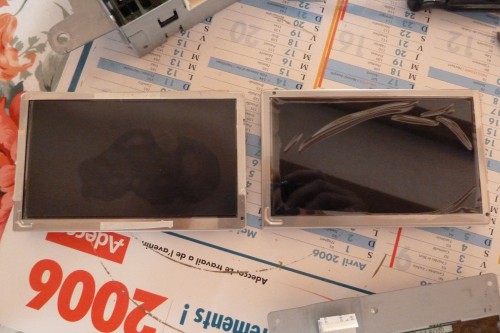
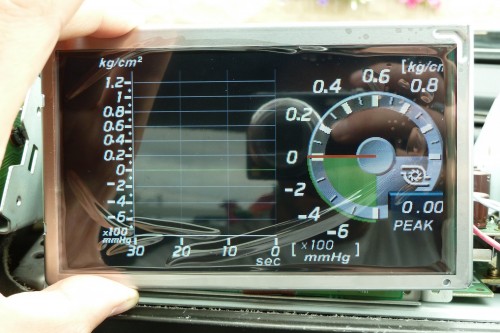
I ordered a cheap polarized film and I replaced it. You can see the screen (second picture) without the polarized film : it’s badly damaged.
Having a new polarized film worked fine. One could tell the screen was damaged but it did the trick …. but only for a couple of weeks. Soon after the change the screen was showing signs of wear : red spots showed on the screen again !! So I decided the change the whole screen. But I didn’t want to spend over 1000 euros. I did some search and I was lucky enough to source a brand new screen for 230 euros (compare that to 1100 euros !!!)
Beware that Nissan used two type of screen for the MFD : in early GT-R (from january 1999 to june 2000) they used Shard screen. Then they moved to Toshiba screens and they finally went back to Sharp for the last R34 models. My screen is a Sharp one.
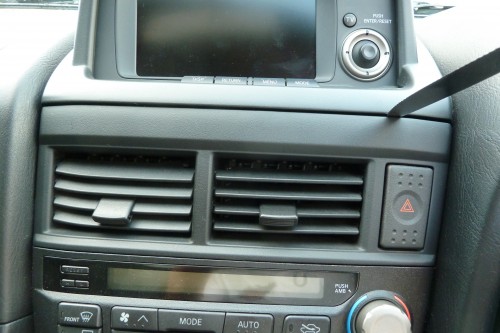
First you need to remove the MFD cover. It’s hold with two screws hidden by the center air vents. You need to unclip that first. I use a knife (thick blade so it won’t bent but it no longer cut so I won’t damage the console) and gently wedge just to unclip. There are three clips so you need to use the blade where the clip are located (see pictures below) :
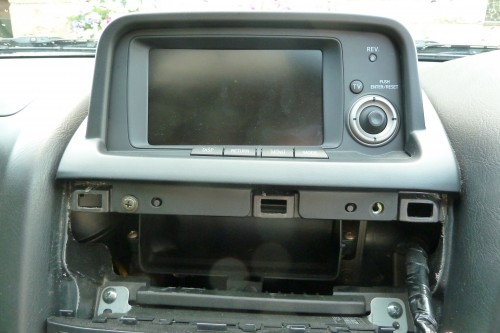
Once the center air vents are removed you can see the screws : removed them and you can drop the MFD cover.
The MFD is hold with 4 screws : removed them and unplug the brown and white connectors at the back of it (the plugs have a little tab in the middle that need to be pushed down to pull them out). Take the MFD to your home to go on the disassembly.
You need a small screw driver. Remove the small screw. Unclip the ribon cable (use a small flat screw driver to unpop the ribbon holder) and remove the blue wire MFD connector.
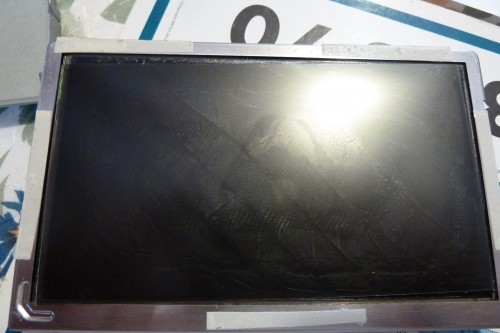
You should have the screen in hand now (you can see marks on the screen : this is where the applied polarized film didn’t work) :
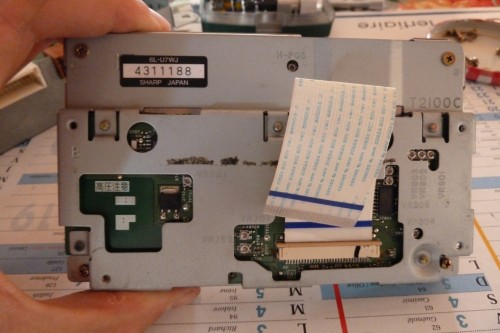
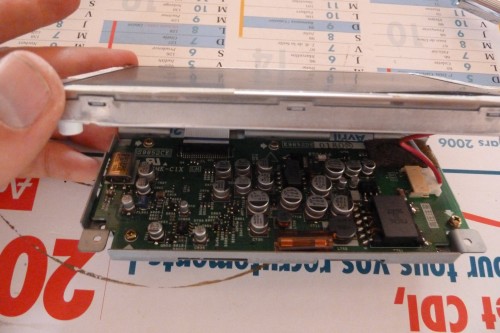
Leave the ribbon connected. At the back of the screen unscrew the four bolts in the corners. This will split the screen from the electronic board :
Be careful : you need to separate the power connector and the ribbon. Unpop the ribbon between the screen and the electronic board. You unclip the ribbon from the screen not from the board. Take your time as you don’t want to damage things …
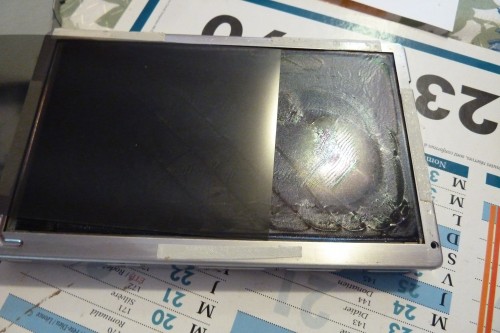
Here are the two screens : the old one on the left and the new one on the right.
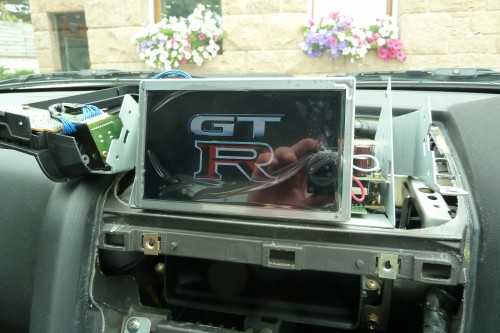
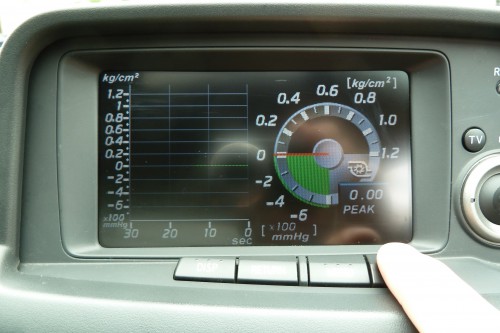
Now the tricky part : there is a little screw at the back of the screen used to adjust the image horizontally (it’s labelled H-POS ): you need to plug the ribbon and connectors back together and you put everything in place in car to adjust the image (it’s best if you are two : one holding the screen and the other to adjust the image). Then use a very small screw driver to adjust the image. You don’t need to turn a lot to have the image horizontally centered. So yes it’s a bit of a mess but that was the only way :
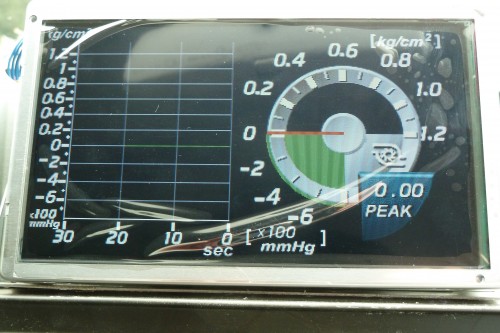
If the image is not adjusted it will be clipped on the left or on the right :
Once the image is centered you drop the protective plastic film and you can put everything back together.
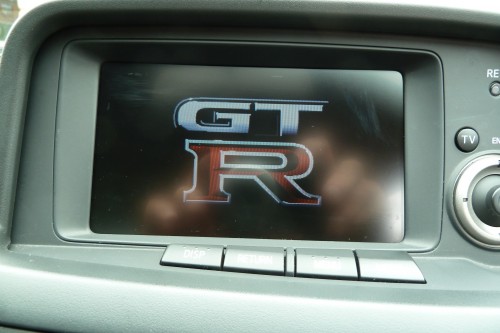
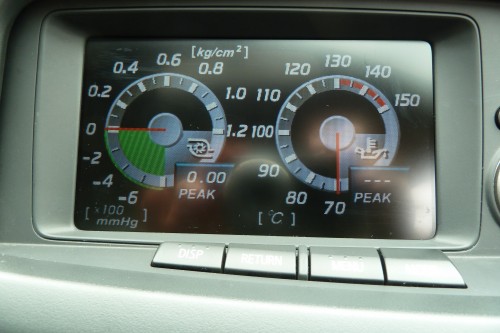
You can enjoy your brand new MFD screen !!
You can get a MFD screen on yahoo auctions from Japan but it’s a bit of a pain unless you know someone that can bid for you. Being a careful guy I ordered a spare MFD Sharp screen brand new in box. But in the end I don’t think I’ll need it for the next 10 years so it’s up for sale : 235 euros (200 £). So if you are looking for a brand new MFD screen for your R34 GT-R drop me a message : sold.

